
Can chicken breast actually turn out juicy instead of dry?
I struggled with this for years, always ending up with something rubbery no matter how careful I thought I was being. Then I learned a couple of small technique fixes, and now dry chicken breast is basically a thing of the past for me.
A good sear, the right heat, and a thermometer instead of guesswork. That’s really all it takes. 🍗
Let’s get it right, every single time.
What You’ll Need
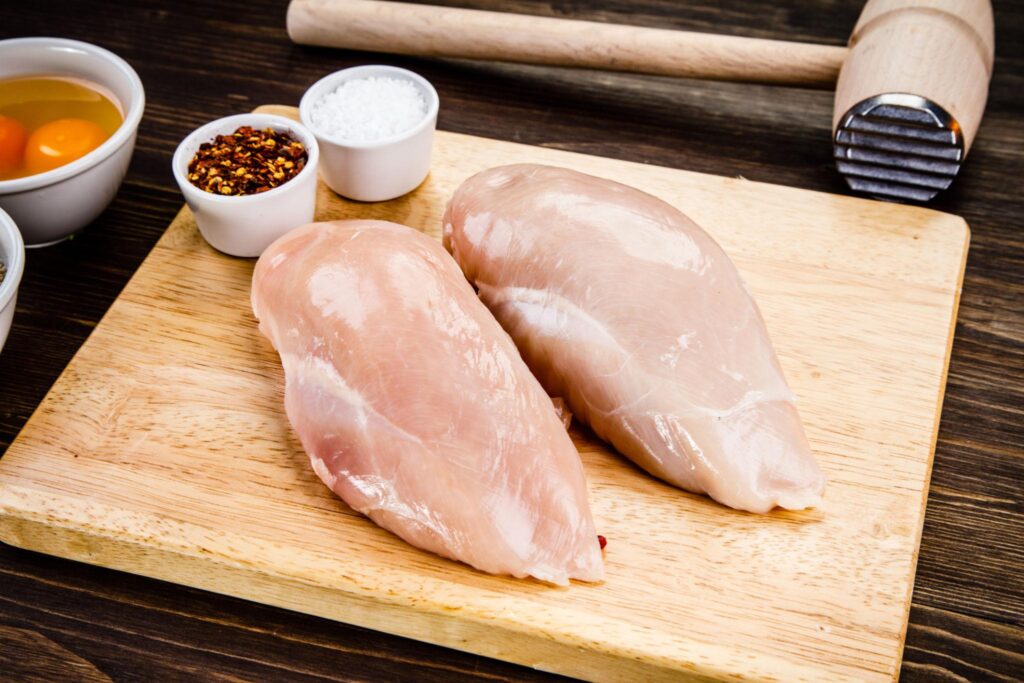
Here’s everything going into this dish:
For the chicken:
- 2 large boneless, skinless chicken breasts
- 2 tbsp olive oil
- 1 tsp garlic powder
- 1 tsp smoked paprika
- 1/2 tsp onion powder
- Salt and pepper to taste
- 2 tbsp butter
For garnish:
- Fresh parsley, chopped
- Lemon wedges
That’s the full list. A handful of pantry seasonings and the right technique.
Tools You’ll Need
- A meat mallet or rolling pin (for pounding)
- A skillet
- Tongs
- A meat thermometer
- A cutting board and knife
How to Make It
Step 1: Even out the chicken.
Place the chicken breasts between two sheets of plastic wrap and pound gently with a meat mallet until they’re an even thickness throughout, about 3/4 inch.
Step 2: Season generously.
Rub both sides of the chicken with olive oil, then sprinkle with garlic powder, smoked paprika, onion powder, salt, and pepper.
Step 3: Heat the skillet.
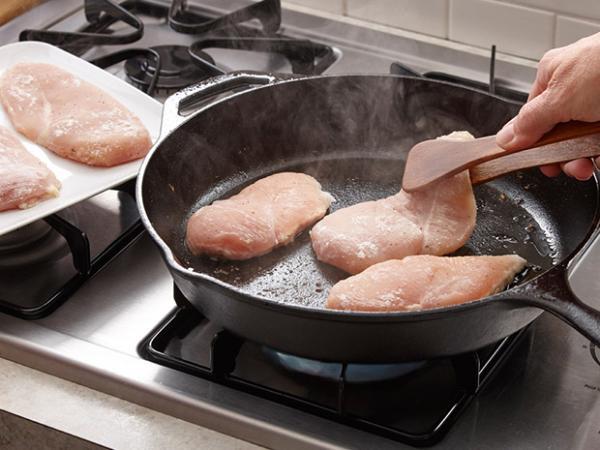
Heat a skillet over medium-high heat until it’s properly hot, about 2-3 minutes.
Step 4: Sear the chicken.
Place the chicken breasts in the skillet and cook without moving them for 5-6 minutes, until a golden crust forms.
Step 5: Flip and add butter.
Flip the chicken and add the butter to the pan. Cook for another 5-6 minutes, spooning the melted butter over the chicken as it finishes cooking.
Step 6: Check the temperature.
Use a meat thermometer to confirm the internal temperature has reached 165°F in the thickest part.
Step 7: Rest before slicing.
Remove the chicken from the pan and let it rest for 5 minutes. This keeps the juices locked in instead of spilling out the moment you cut into it.
Step 8: Garnish and serve.
Slice if desired, top with fresh parsley, and serve with lemon wedges on the side.
Pro Tips
- Pound the chicken to an even thickness. This is the single biggest fix for uneven cooking, where the thin end dries out before the thick end finishes.
- Let your pan get properly hot before adding the chicken. A cold pan leads to steaming instead of searing, which means no golden crust.
- Don’t move the chicken too soon. Let it sear undisturbed so it naturally releases from the pan once it’s ready to flip.
- Always use a meat thermometer. Guessing doneness by cutting into the chicken lets valuable juices escape before it’s even done resting.
- Let it rest before slicing. Skipping this step is one of the most common reasons chicken breast turns out dry.
Substitutions and Variations
- Herb butter version: Add minced garlic and fresh herbs like thyme or rosemary to the butter for extra flavor while basting.
- Grilled version: These same seasoned breasts grill beautifully, just watch the heat since grills can dry out chicken quickly if left too long.
- Spicier version: Add a pinch of cayenne pepper to the seasoning blend.
- Lemon herb version: Add lemon zest and Italian seasoning to the rub for a brighter, herby flavor.
- Baked version: Bake seasoned chicken breasts at 400°F for about 20-25 minutes if you prefer a hands-off method.
Make Ahead Tips
Season the chicken up to a day ahead and store it covered in the fridge, letting the flavor develop even more.
Cooked chicken breast also keeps well and can be sliced for meal prep, added to salads, sandwiches, or grain bowls throughout the week.
Additional Details
Nutritional Breakdown (Per Breast)
| Nutrient | Amount |
|---|---|
| Calories | ~280 |
| Protein | 38g |
| Carbs | 1g |
| Fat | 14g |
| Sodium | 320mg |
Note: Values are estimates and will vary depending on exact chicken size and ingredients used.
Meal Pairing Ideas
- Serve with roasted vegetables and rice for a complete dinner.
- Slice and add to a salad for a light lunch.
- Pair with mashed potatoes and a simple pan sauce.
Cooking Time Efficiency Tips
- Pound and season the chicken ahead of time so it’s ready to cook when you are.
- Cook a double batch and use the extra for meal prep throughout the week.
- Preheat your skillet while you finish seasoning to save a few minutes.
Leftovers and Storage
Store leftovers in an airtight container in the fridge for up to 4 days.
Reheat gently in a skillet over low heat, or in the microwave covered with a damp paper towel to help retain moisture.
This chicken also freezes well for up to 3 months. Thaw in the fridge overnight before reheating.
FAQ
Why does my chicken breast always come out dry? This usually comes down to uneven thickness, overcooking, or skipping the resting time. Pounding it even and using a thermometer solves most of the problem.
What temperature should chicken breast be cooked to? 165°F in the thickest part, checked with a meat thermometer for accuracy.
Can I use this method for chicken thighs instead? Yes, though thighs are naturally more forgiving and don’t require quite as much attention to avoid drying out.
How long should chicken breast rest after cooking? About 5 minutes is enough to let the juices redistribute throughout the meat before slicing.
Can I meal prep this chicken for the week? Yes. Cook a batch, let it cool, then slice or store whole in the fridge for salads, sandwiches, or bowls throughout the week.
Wrapping Up
This method proves that juicy chicken breast isn’t complicated, it just takes a couple of small, reliable steps done right.
Well-seasoned, properly seared, and rested before slicing, this is the technique worth remembering for good.
Make this one this week and let me know how it turned out in the comments below. And if you tried a different seasoning blend, I’d love to hear what you made.