
Can homemade fried chicken actually beat the stuff from your favorite drive-through?
I wasn’t sure it could until I made a batch myself, buttermilk soak and all. One bite of that crackling crust, and I stopped craving takeout fried chicken completely.
Juicy on the inside, shatteringly crisp on the outside, and seasoned all the way through instead of just on the surface. 🍗
This one takes a little planning, but almost none of the effort is hard.
What You’ll Need
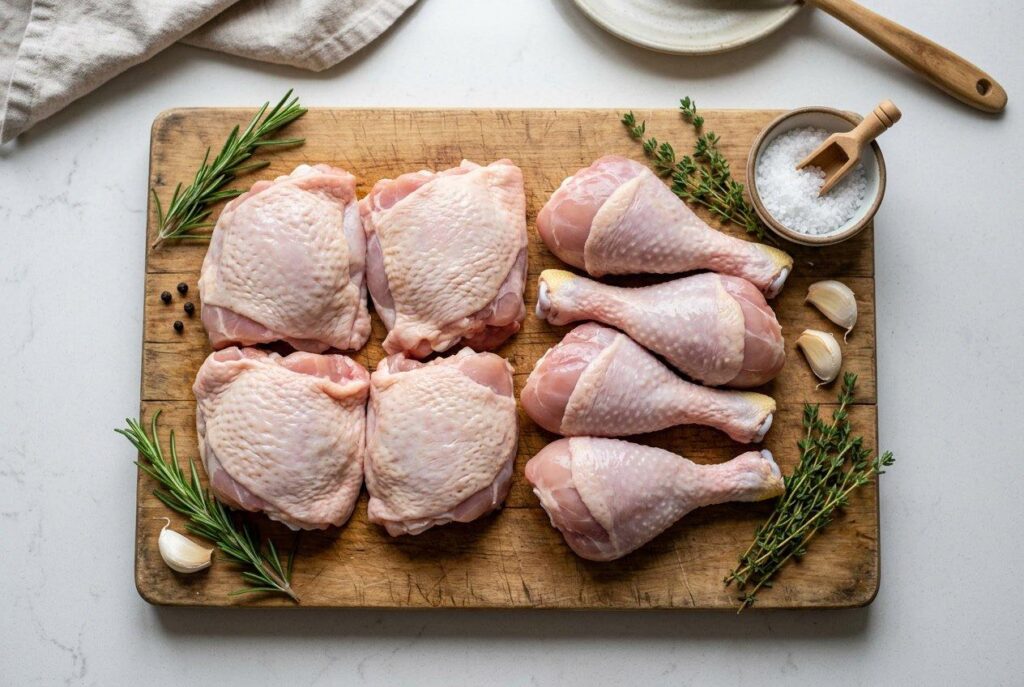
Here’s everything going into this batch:
For the marinade:
- 8 chicken pieces (thighs, drumsticks, or a mix)
- 2 cups buttermilk
- 1 tbsp hot sauce
- 1 tsp salt
- 1/2 tsp black pepper
For the coating:
- 2 cups all-purpose flour
- 1 tbsp paprika
- 1 tbsp garlic powder
- 1 tbsp onion powder
- 1 tsp cayenne pepper
- 1 tsp salt
- 1 tsp black pepper
For frying:
- Vegetable oil or peanut oil, enough for deep frying
That’s the full ingredient list. Simple pantry staples, layered together for maximum flavor.
Tools You’ll Need
- A large bowl (for marinating)
- A large shallow dish (for the flour coating)
- A deep, heavy-bottomed pot or Dutch oven
- A meat thermometer
- Tongs
- A wire rack
How to Make It
Step 1: Marinate the chicken.
In a large bowl, combine the buttermilk, hot sauce, salt, and pepper. Add the chicken pieces, making sure they’re fully submerged.
Cover and refrigerate for at least 4 hours, though overnight gives the best results.
Step 2: Mix the coating.
In a large shallow dish, combine the flour, paprika, garlic powder, onion powder, cayenne, salt, and pepper.
Step 3: Heat the oil.
Pour oil into a deep pot until it reaches about 2-3 inches deep. Heat to 350°F, checking with a thermometer for accuracy.
Step 4: Coat the chicken.
Remove a piece of chicken from the buttermilk, letting excess drip off. Dredge it thoroughly in the flour mixture, pressing to help the coating stick.
Step 5: Double dip for extra crunch.
For an extra crispy crust, dip the floured chicken back into the buttermilk, then into the flour mixture a second time.
Step 6: Fry in batches.
Carefully lower a few pieces of chicken into the hot oil, being careful not to overcrowd the pot. Fry for 12-15 minutes, turning occasionally, until deep golden brown.
Step 7: Check the temperature.
Use a meat thermometer to confirm the internal temperature has reached 165°F.
Step 8: Drain and rest.
Transfer the fried chicken to a wire rack to drain, rather than paper towels, which can make the bottom soggy.
Step 9: Serve.
Let the chicken rest for a few minutes before serving hot.
Pro Tips
- Don’t skip the buttermilk marinade. It tenderizes the chicken and adds flavor all the way through, not just on the surface.
- Keep your oil temperature steady. Too hot and the outside burns before the inside cooks. Too cool and the chicken absorbs excess oil and turns greasy.
- Fry in small batches. Overcrowding the pot drops the oil temperature quickly and leads to uneven cooking.
- Use a wire rack for draining, not paper towels. This keeps the bottom of the chicken from steaming and going soft.
- Let the coated chicken rest for a few minutes before frying. This helps the coating adhere better and reduces the chance of it falling off in the oil.
Substitutions and Variations
- Boneless option: Boneless thighs or chicken tenders work well and cook a bit faster than bone-in pieces.
- Spicier version: Increase the cayenne pepper or add extra hot sauce to the buttermilk marinade.
- Oven-fried version: Bake the coated chicken at 425°F on a wire rack for about 35-40 minutes for a lighter alternative.
- Gluten-free: Use a gluten-free all-purpose flour blend in place of regular flour.
- Extra herby: Add dried thyme or oregano to the flour mixture for a slightly different flavor profile.
Make Ahead Tips
Marinate the chicken up to 24 hours ahead, which actually improves the flavor and tenderness.
You can also mix the seasoned flour ahead of time and store it in an airtight container until you’re ready to fry.
Fried chicken is best served fresh, though it reheats reasonably well if needed.
Additional Details
Nutritional Breakdown (Per Piece)
| Nutrient | Amount |
|---|---|
| Calories | ~380 |
| Protein | 26g |
| Carbs | 18g |
| Fat | 22g |
| Sodium | 520mg |
Note: Values are estimates and will vary depending on exact chicken pieces and oil absorption.
Meal Pairing Ideas
- Serve with mashed potatoes and gravy for a classic comfort meal.
- Pair with coleslaw and cornbread for a full Southern-style spread.
- Add a side of biscuits and honey for something a little sweet.
Cooking Time Efficiency Tips
- Start the buttermilk marinade the night before so it’s ready to fry the next day.
- Set up your dredging station before heating the oil so the process moves smoothly.
- Fry in two batches while keeping the first batch warm in a low oven, rather than trying to cook everything at once.
Leftovers and Storage
Store leftovers in an airtight container in the fridge for up to 4 days.
Reheat in the oven at 375°F for about 15 minutes to bring back some crispiness. The microwave will make the coating soft instead of crisp.
This chicken also freezes well for up to 3 months. Reheat in the oven straight from frozen, adding extra time as needed.
FAQ
Why did my coating fall off during frying? This usually happens if the chicken wasn’t dredged thoroughly, or if it went into oil that wasn’t hot enough to set the crust quickly.
Can I use chicken breast instead of thighs or drumsticks? Yes, though breast meat can dry out more easily. Keep a close eye on the internal temperature to avoid overcooking.
What oil is best for frying chicken? Peanut oil or vegetable oil both work well due to their high smoke points and neutral flavor.
How do I know when the oil is the right temperature? Use a deep fry or candy thermometer and aim for 350°F. A small piece of bread dropped in should sizzle and turn golden within about a minute.
Can I make this chicken ahead for a party? Fried chicken is best fresh, but you can fry it a few hours ahead and keep it warm in a low oven until serving.
Wrapping Up
This fried chicken proves that homemade really can beat takeout, hands down.
Crispy, juicy, and seasoned all the way through, it’s worth the little bit of planning it takes to get there.
Make a batch this weekend and let me know how it turned out in the comments below. And if you added your own spice blend, I’d love to hear what you made