
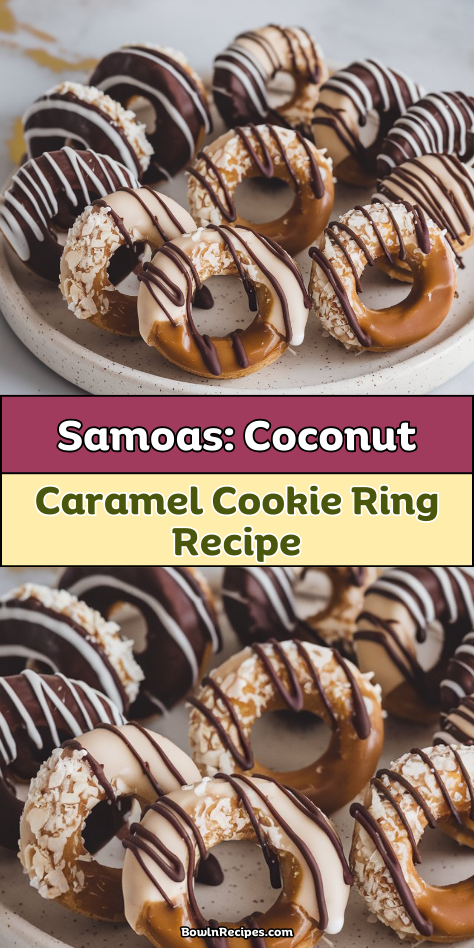
I’ve always been a sucker for that perfect combination of toasty coconut, rich caramel, and chocolate—especially when it’s perched on a buttery shortbread base. Remember those Girl Scout cookies we’d all hoard in our freezers? Well, why wait for cookie season when you can make these Samoas right in your kitchen? The recipe might seem a bit involved at first glance, but trust me, the process breaks down into manageable steps that even novice bakers can handle. Ready to discover how these heavenly rings come together?
Why You’ll Love these Coconut Caramel Cookie Rings
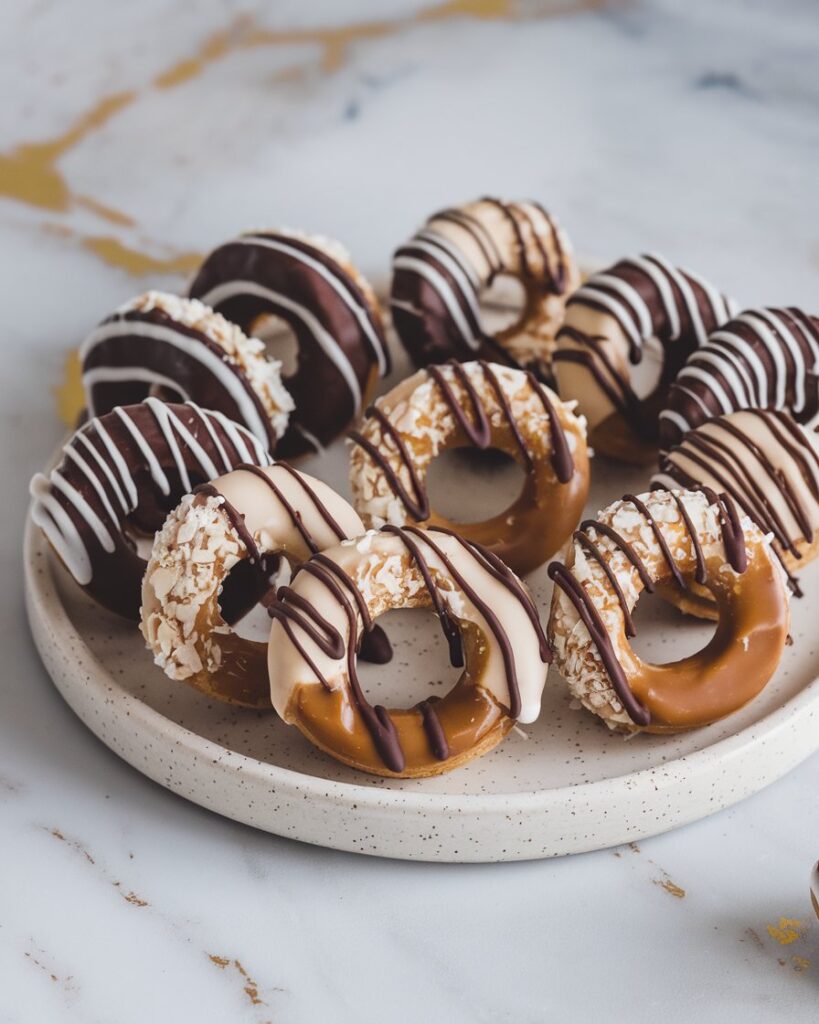
While I’m not one to play favorites with cookies, these homemade Samoas might just convert you into a year-round Girl Scout cookie enthusiast. The buttery shortbread base provides the perfect foundation for that irresistible combination of toasty coconut and gooey caramel. And let’s talk about that dark chocolate—drizzled across the top and coating the bottom, it adds the rich finishing touch that makes these cookies truly special.
What’s better than skipping the once-a-year wait and making these iconic treats whenever a craving strikes? Trust me, your friends will be begging for the recipe.
What Ingredients are in Coconut Caramel Cookie Rings?
These homemade Samoas require simple pantry staples that come together to create that iconic Girl Scout cookie flavor we all crave year-round.
- 1 cup unsalted butter, room temperature
- ½ cup sugar
- 2 cups all-purpose flour
- ¼ teaspoon baking powder
- ½ teaspoon salt
- 2 tablespoons milk
- ½ teaspoon vanilla extract
- 3 cups shredded sweetened coconut
- 15–20 ounces soft caramel (store-bought)
- 3–4 tablespoons milk (for caramel mixture)
- 8–12 ounces dark chocolate
For the best flavor profile, I recommend using high-quality dark chocolate and making sure your coconut gets properly toasted to bring out those warm, nutty notes that make Samoas so irresistible.
How to Make these Coconut Caramel Cookie Rings
Step 1: Preheating your oven
Start by preheating your oven to 350°F. In a large bowl, cream 1 cup of unsalted butter with ½ cup sugar until the mixture becomes light and fluffy. This creates the perfect foundation for our shortbread-like cookie base. Premium baking tools can make this process even more precise and enjoyable.
Step 2: Mix the Dry Ingredients
In a separate bowl, whisk together 2 cups all-purpose flour, ¼ teaspoon baking powder, and ½ teaspoon salt. Gradually add this dry mixture to your butter-sugar combination, mixing until just combined. Finally, stir in 2 tablespoons milk and ½ teaspoon vanilla extract until the dough comes together.
Step 3: Chill and Shape the Dough
Wrap the dough in plastic and chill for at least 1 hour—trust me, this step isn’t optional if you want clean-cut cookies! Once chilled, roll the dough to about ⅛-inch thickness on a lightly floured surface. Using a donut cutter (or two different-sized circular cutters), create those iconic ring shapes we all recognize.
Step 4: Bake the Cookie Bases
Place your cookie rings on a parchment-lined baking sheet and bake for 8-12 minutes, or until the edges turn a light golden brown. Allow the cookies to cool completely before moving on to the next step. Patience here pays off in perfect texture!
Step 5: Toast the Coconut
Spread 3 cups of sweetened shredded coconut on a baking sheet and toast it in the oven until golden brown, stirring occasionally. The kitchen will smell absolutely heavenly as the coconut develops those nutty, caramelized notes that make Samoas so distinctive.
Step 6: Prepare the Caramel-Coconut Topping
In a microwave-safe bowl or on the stovetop, melt 15-20 ounces of soft caramels with 3-4 tablespoons of milk, stirring until smooth. Fold your toasted coconut into this warm caramel mixture, creating that gooey, sweet topping that defines these cookies.
Step 7: Assemble the Cookies
Carefully spread or spoon the coconut-caramel mixture onto each cooled cookie ring. You might need to use your fingers to press the mixture gently onto each cookie—slightly messy, but totally worth it. Let the topping set slightly before the final chocolate step.
Step 8: Add the Chocolate Finishing Touch
Melt 8-12 ounces of dark chocolate and either dip the bottoms of each cookie or drizzle the chocolate across the tops in those signature stripes. Place the finished cookies on parchment paper and allow the chocolate to set completely before serving or storing.
What to Serve with Coconut Caramel Cookie Rings
These homemade Samoas deserve the perfect companions to round out your cookie experience. For a simple but impressive dessert plate, pair them with a scoop of vanilla bean ice cream—the cold creaminess against the chewy cookies is pure magic. A mug of hot coffee balances the sweetness beautifully, while cold milk is the classic choice for serious cookie dunkers.
For a more elaborate dessert spread, serve alongside fresh berries for a tart contrast to the rich caramel. Feeling fancy? A small dish of flaky sea salt lets guests add a tiny sprinkle that elevates all those sweet-buttery-chocolate flavors. These cookies make a wonderful afternoon treat, but they’re equally at home on a dessert board for dinner parties.
Coconut Caramel Cookie Rings Substitutions and Variations
- Fun add-ins: Mix crushed pecans into the caramel layer, sprinkle flaky salt on top, or swirl in peanut butter with the chocolate for a candy-bar twist.
- Seasonal touch: Add orange zest to the cookie dough for holidays, or mix in finely chopped dried cranberries for a festive color pop.
Leftovers and Storage for these Coconut Caramel Cookie Rings
These homemade Samoas stay fresh for up to 5 days when stored in an airtight container at room temperature. For longer storage, refrigerate them for up to 2 weeks—just place parchment paper between layers to prevent sticking.
Want to freeze them? They’ll keep beautifully for up to 3 months in a freezer-safe container. When you’re ready to enjoy, thaw at room temperature for about an hour.
To maintain that perfect texture (the slightly crisp cookie with chewy caramel-coconut topping), store these cookies in a cool, dry place. The chocolate can soften in warm environments, so if your kitchen runs hot, the fridge might be your best bet.
Unlike some cookies that improve with age, these taste most divine when fresh or within the first couple days—though who am I kidding? They rarely last that long in my house!
Final Thoughts
There’s something deeply satisfying about creating these iconic ring-shaped cookies in your own kitchen. The combination of buttery shortbread, toasted coconut, gooey caramel, and rich dark chocolate creates that nostalgic flavor we all crave—but with the pride of homemade goodness.
These cookies make perfect weekend projects when you want to impress at bake sales, holiday cookie exchanges, or when that Girl Scout cookie craving hits outside of selling season.
The process might take a bit of time, but the moment you bite into that perfect balance of textures and flavors, you’ll understand why some traditions are worth the effort to recreate at home.
Frequently Asked Questions
Can I Use a Premade Cookie Dough Instead of Making From Scratch?
Yes, you can use premade cookie dough! I’d recommend a shortbread-type dough for authentic flavor. Just roll it out, cut your donut shapes, and proceed with the toasting coconut and caramel steps.
How Far Ahead Can I Make These Cookies for an Event?
I’d say you can make these cookies 3-5 days ahead if stored in an airtight container. For best results, I’d complete the chocolate coating just 1-2 days before your event for peak freshness.
What’s the Best Technique for Achieving Thin, Even Chocolate Stripes?
For thin, even chocolate stripes, I’ll melt chocolate until smooth, transfer to a ziplock bag, snip a tiny corner, and use steady pressure while moving quickly across the cookies in one continuous motion.
Can I Freeze the Unbaked Dough for Later Use?
Yes, you can freeze the unbaked dough! I’d recommend wrapping it tightly in plastic wrap and freezing for up to 3 months. Just thaw overnight in the refrigerator before rolling and cutting.
Why Did My Caramel Mixture Become Too Hard After Cooling?
Your caramel hardened because you likely overheated it or didn’t add enough milk. I’d recommend rewarming it gently with an extra tablespoon of milk, stirring until smooth and pliable again.