
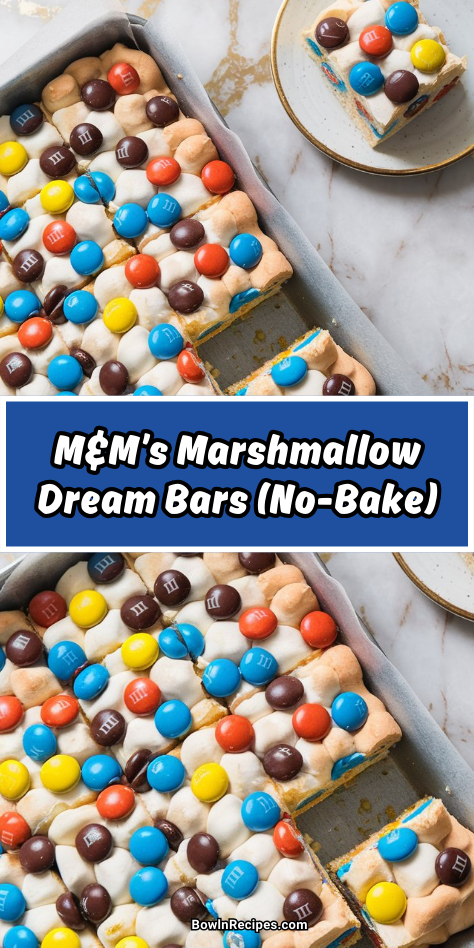
I just made these M&M’s marshmallow dream bars and I’m literally bouncing off the walls because they’re so fun and delicious – it’s like childhood nostalgia met grown-up dessert skills!
I was having one of those days where I desperately needed something sweet but it’s way too hot to turn on the oven, so when I remembered I had a bag of M&M’s and some marshmallows in my pantry, inspiration struck immediately.
The combination of gooey marshmallows, crunchy M&M’s, and that buttery base creates this amazing texture that’s like eating happiness in bar form!
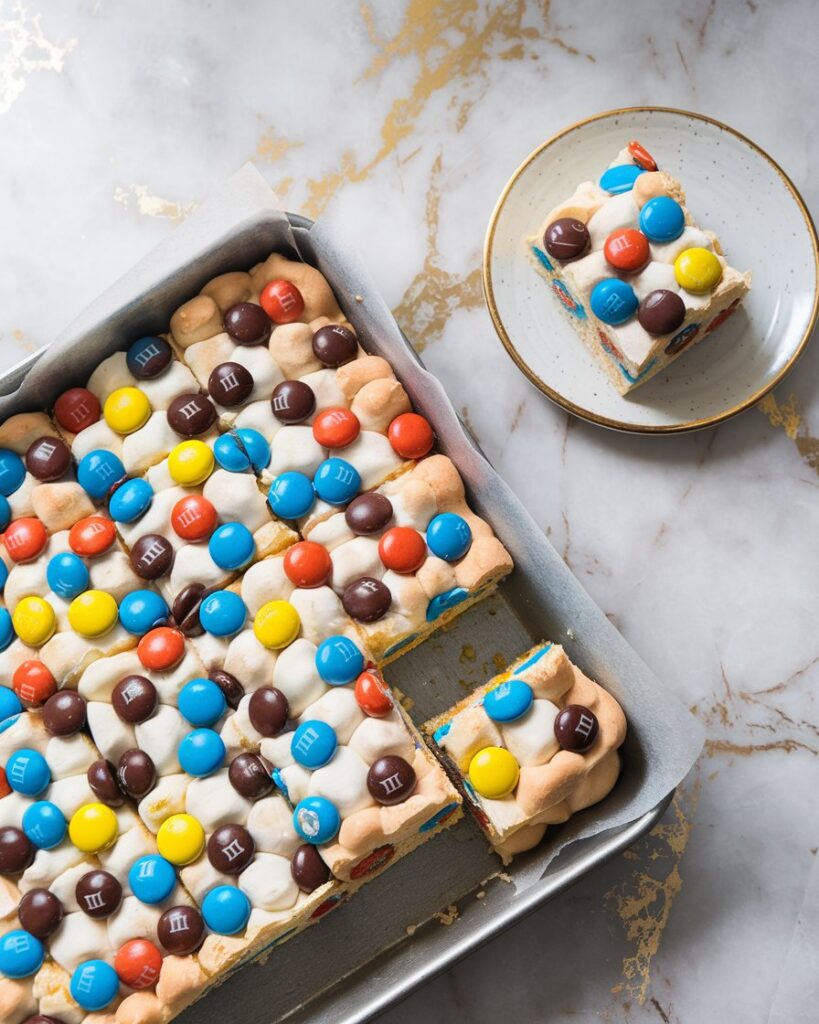
I set them in the fridge a few hours ago and just cut my first piece – they’re perfectly chewy and colorful and I’m already planning to make them for my nephew’s birthday party next week.
Why You’ll Love This Recipe
These bars are a no-bake treat that’s as fun to make as it is to eat. They only take about 15 minutes to put together, and the combination of marshmallows, butter, crispy cereal, and M&M’s is basically dessert magic. Every bite has a little chew, a little crunch, and a lot of sweetness.
What I love most is how versatile they are. You can swap out the M&M’s for holiday colors, add sprinkles, or even mix in peanut butter for a different flavor. They’re perfect for bake sales, parties, lunchbox treats, or just when you need something cheerful and quick to whip up.
What You’ll Need
Base ingredients:
- 4 tbsp unsalted butter
- 1 (10 oz) bag mini marshmallows
- 5 cups crispy rice cereal
- 1 cup M&M’s (plain or peanut)
- 1 tsp vanilla extract
- Pinch of salt
Optional add-ins:
- ½ cup sprinkles
- ½ cup mini chocolate chips
- Drizzle of melted chocolate on top
Pro Tips
- Save some M&M’s for the top. Press them in after spreading the mixture so they look extra colorful.
- Don’t overheat the marshmallows. Melt them gently so the bars stay soft and chewy.
- Grease your spatula. It makes spreading the mixture so much easier without sticking.
- Work fast. Once the marshmallows are melted, mix and press quickly before it sets.
- Use fresh marshmallows. Older ones don’t melt as smoothly and can make the bars dry.
Tools You’ll Need
- Large saucepan
- Wooden spoon or heatproof spatula
- 9×13-inch baking pan
- Parchment paper or nonstick spray
- Measuring cups and spoons
Substitutions and Variations
- Cereal: Swap crispy rice cereal with cornflakes, Chex, or even popcorn for a twist.
- Candy: Use Reese’s Pieces, chopped peanut butter cups, or crushed Oreos instead of M&M’s.
- Nutty version: Stir in a ½ cup of peanut butter or chopped peanuts.
- Festive bars: Match M&M colors to holidays—red/green for Christmas, pastel for Easter, orange/black for Halloween.
- Drizzle: Add melted chocolate or white chocolate on top for an extra touch.
Make-Ahead Tips
- These bars are perfect for making ahead because they hold up well at room temperature.
- You can prep them up to 2 days in advance—just store tightly covered.
- For events, cut them into squares and store in an airtight container with parchment between layers.
- They freeze beautifully, too. Just wrap tightly and freeze for up to 1 month.
How to Make M&M’s Marshmallow Dream Bars
Step 1: Melt the base
In a large saucepan, melt butter over medium heat. Add mini marshmallows and stir until fully melted and smooth.
Step 2: Add flavor
Stir in vanilla extract and a pinch of salt.
Step 3: Mix in cereal
Remove from heat and quickly fold in the crispy rice cereal, stirring until well coated.
Step 4: Add M&M’s
Let the mixture cool slightly (so the M&M’s don’t melt), then stir in about ¾ of the M&M’s.
Step 5: Press into pan
Transfer the mixture into a greased or parchment-lined 9×13-inch pan. Press gently with a spatula to spread evenly.
Step 6: Top it off
Sprinkle the remaining M&M’s (and sprinkles or chocolate chips, if using) on top. Press lightly so they stick.
Step 7: Set and slice
Let the bars cool for at least 30 minutes before slicing into squares.
Serving Suggestions
- Serve them as a quick dessert for parties or potlucks.
- Pack them into lunchboxes as a surprise treat.
- Cut into bite-sized squares for kids’ snack trays.
- Pair with a glass of milk for the ultimate nostalgic combo.
Leftovers & Storage
- Room temp: Store in an airtight container for up to 3 days.
- Fridge: They’ll last up to a week but will be a little firmer.
- Freezer: Freeze for up to 1 month; thaw at room temp before eating.
Nutrition & Benefits
While these bars are definitely a sweet indulgence, they do provide some quick energy thanks to the cereal and marshmallows.
The oats in crispy rice cereal add a touch of whole grain, and peanut M&M’s can sneak in a bit of protein. Of course, they’re more about fun than health—and that’s totally okay. They’re the kind of treat that brightens up any day.
Recipe FAQ
1. Can I use large marshmallows instead of mini?
Yes, just chop them up so they melt evenly.
2. How do I keep the bars from sticking to my hands?
Lightly grease your hands or spatula before pressing them into the pan.
3. Can I make these dairy-free?
Yes—use vegan butter and dairy-free marshmallows (like Dandies).
4. Why did my bars turn hard?
You may have overheated the marshmallows—low and slow melting works best.
5. Can I halve the recipe?
Absolutely. Use an 8×8-inch pan for a smaller batch.
Fun, Colorful, and Crowd-Pleasing
These M&M’s marshmallow dream bars are the kind of no-bake dessert that just makes people happy.
They’re colorful, gooey, and super simple to make—perfect for when you need something quick and cheerful. Whether you make them for a party, a school event, or just to brighten up a regular day, they’re guaranteed to bring smiles.