
I’m always on the lookout for recipes that deliver maximum flavor with minimum effort, and this Cheesy Herb Garlic Quickbread hits all the right notes. Imagine the aroma of fresh herbs and garlic wafting through your kitchen as melted cheddar creates pockets of gooey goodness throughout a tender loaf.
No yeast, no waiting, just mix and bake. Wondering how something so impressive can be so simple? The secret lies in a perfect blend of everyday ingredients that transform into something extraordinary.
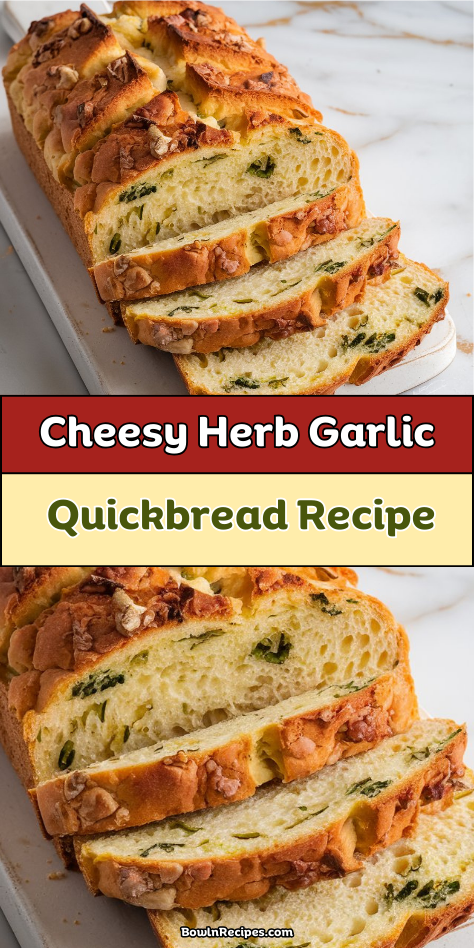
Why You’ll Love this Cheesy Herb Garlic Quickbread
While most homemade breads require hours of kneading and rising, this cheesy herb garlic quickbread delivers all the flavor with none of the wait. I’m telling you, the aroma alone will make your kitchen feel like an Italian bistro.
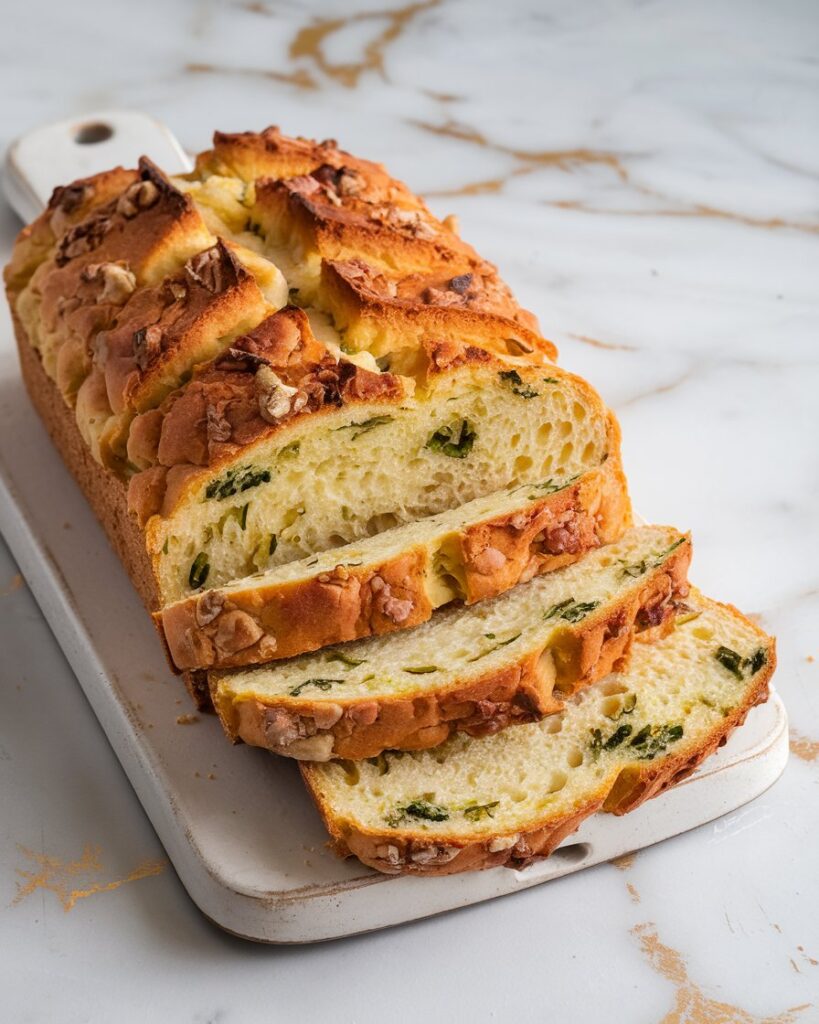
Can you imagine pulling this from your oven? Pockets of melted cheese, swirls of aromatic herbs, and that punch of garlic in every bite. It’s rustic comfort food that pairs with practically anything—soups, salads, or just a smear of butter while still warm.
Perfect for novice bakers, too. No yeast anxiety, no waiting around. Just mix, swirl, bake.
What Ingredients are in Cheesy Herb Garlic Quickbread?
This quickbread is packed with flavor-boosting ingredients that work together to create something truly special in under an hour.
- 2 1/4 cups all-purpose flour
- 1 teaspoon baking soda (or 3 1/2 teaspoons baking powder as substitute)
- 3/4 teaspoon salt
- 2 tablespoons fresh rosemary, finely chopped
- 2 tablespoons fresh parsley, finely chopped
- 1 teaspoon dried oregano
- 1/2 teaspoon dried thyme
- 2-3 garlic cloves, crushed or grated
- 3 tablespoons extra virgin olive oil
- 1/2 cup plain yogurt
- 3/4 cup milk
- 2 large eggs
- 3 1/2 tablespoons unsalted butter, melted
- 200g shredded cheddar cheese (about 2 cups)
For the freshest flavor profile, try to use fresh herbs when possible, especially for the rosemary and parsley, though you could substitute dried herbs in a pinch—just remember to reduce the amounts by about half since dried herbs are more potent than fresh.
How to Make this Cheesy Herb Garlic Quickbread
Step 1: Create the Herb-Garlic Swirl Mixture
Take your 2 tablespoons fresh rosemary, 2 tablespoons fresh parsley, 1 teaspoon dried oregano, 1/2 teaspoon dried thyme, 2-3 crushed garlic cloves, a pinch of salt, and 3 tablespoons olive oil, and combine them in a small bowl. This fragrant mixture will create those gorgeous swirls of flavor throughout your loaf. When preparing your culinary masterpiece, consider investing in premium pistachio dessert tools to elevate your baking experience.
Step 2: Prepare Your Dry Ingredients
In a large mixing bowl, whisk together 2 1/4 cups all-purpose flour, 1 teaspoon baking soda (or 3 1/2 teaspoons baking powder if that’s what you have on hand), and 3/4 teaspoon salt. A quick, thorough mix guarantees even distribution of leavening agents.
Step 3: Mix the Wet Ingredients
In a separate bowl, combine 1/2 cup plain yogurt, 3/4 cup milk, 2 large eggs, and 3 1/2 tablespoons melted unsalted butter. The yogurt gives this bread a tender crumb that you’ll absolutely adore.
Step 4: Combine Wet and Dry Mixtures
Pour your wet ingredient mixture into the flour mixture, stirring just until combined. Over-mixing is the enemy of tender quickbread, so stop as soon as you don’t see dry flour—a few small lumps are perfectly fine.
Step 5: Layer the Batter and Flavorings
Spoon one-third of your batter into a greased loaf pan, then dollop one-third of your herb-garlic mixture on top along with some of your 200g shredded cheddar cheese. Using a sharp knife, gently swirl these layers together with a figure-eight motion.
Step 6: Repeat Layering Process
Continue the layering process two more times with remaining batter, herb mixture, and cheese. Those swirls of herbs and pockets of melted cheese will make every slice a little adventure.
Step 7: Bake to Golden Perfection
Bake your loaf at 350°F (175°C) for 50-60 minutes, or until a toothpick inserted in the center comes out clean. The kitchen will smell absolutely heavenly as those herbs and garlic work their aromatic magic.
Step 8: Cool Before Slicing
Allow your cheesy herb bread to rest in the pan for about 10 minutes before removing it to a wire rack. Resist the temptation to slice immediately—though it’s hard with that smell wafting through the house—as this cooling time helps set the texture.
What to Serve with Cheesy Herb Garlic Quickbread
This savory quickbread practically begs for a companion at the table! For a simple lunch, pair a warm slice with a bowl of roasted tomato soup for dipping—trust me, it’s comfort food heaven. At dinner, serve alongside a crisp green salad dressed with a light vinaigrette to balance the bread’s richness. Morning person? Toast a slice and top with a perfectly fried egg for breakfast. For entertaining, set out small bowls of extra virgin olive oil sprinkled with flaky sea salt for dipping, or whip up a quick compound butter with more fresh herbs. And don’t forget a glass of medium-bodied red wine if you’re serving it with dinner—the cheese and herbs love that pairing.
Cheesy Herb Garlic Quickbread Substitutions and Variations
Don’t have exactly what you need? No worries! This versatile bread welcomes tweaks:
- Cheese Options: Swap cheddar for Gruyère, Parmesan, or crumbled feta for different flavor profiles
- Herb Swaps: Use whatever herbs you have on hand—basil, dill, or chives work beautifully
- Dairy Alternatives: Replace yogurt with sour cream or dairy-free yogurt; use almond milk for the milk
- Gluten-Free Version: Substitute a 1:1 gluten-free flour blend, but add 1/4 teaspoon xanthan gum
- Add-Ins: Fold in 1/3 cup sun-dried tomatoes, kalamata olives, or caramelized onions
- Spice It Up: Add 1/4 teaspoon red pepper flakes for a gentle heat
- Topping Twist: Sprinkle extra cheese and herbs on top before baking for a gorgeous crust
- Mini Format: Bake in muffin tins for 20-25 minutes for grab-and-go portions
The beauty of quickbread? It’s forgiving and adaptable to what you have in your pantry.
Leftovers and Storage for this Cheesy Herb Garlic Quickbread
This bread keeps remarkably well, making it perfect for meal prep or unexpected guests. Store cooled leftovers in an airtight container at room temperature for up to 2 days, or refrigerate for up to 5 days. For longer storage, freeze individual slices with parchment paper between them for up to 3 months.
To revive refrigerated bread, warm slices in a 300°F oven for 5-7 minutes. For frozen slices, thaw at room temperature and then toast lightly. Want to prevent drying? Wrap slices in a slightly damp paper towel before microwave heating for 15-20 seconds.
Pro tip: The flavors actually deepen overnight as the herbs infuse the bread more thoroughly, making day-two slices sometimes even more flavorful than fresh-baked!
Final Thoughts
There’s something undeniably comforting about the aroma of herb-studded bread wafting through the kitchen. This Cheesy Herb Garlic Quickbread stands out with its beautiful swirls of fresh rosemary, parsley and garlic dancing through layers of melted cheese. It’s the perfect companion for busy weeknights when you want something homemade without the wait of yeasted bread. The versatility makes it shine alongside soups and stews or as the star of a weekend brunch spread. No special equipment needed, just simple ingredients that transform into something rather magical when combined – proof that sometimes the most satisfying foods are also the most straightforward.
Frequently Asked Questions
Can I Make This Quickbread Gluten-Free?
Yes, you can! I’d substitute the all-purpose flour with a gluten-free flour blend. Many commercial blends work well for quickbreads, just make sure it contains xanthan gum for proper structure and texture.
Why Did My Herb Swirls Turn Brown During Baking?
The herbs likely browned because they’re exposed to direct heat during baking. I’d recommend mixing some herbs into the batter rather than just swirling them, or covering swirls with a thin layer of batter.
Can I Freeze the Dough Before Baking?
I wouldn’t freeze this dough unbaked. Quick bread batters don’t freeze well before baking. Instead, bake it completely, then freeze the finished loaf. You can reheat slices whenever you need them.
How Finely Should I Shred the Cheese?
I recommend medium to coarse shredding for your cheese. It’ll melt nicely while maintaining distinct pockets throughout the bread. Fine shredding works too, but you’ll get a more uniform cheese distribution.
Will This Recipe Work in a Muffin Tin?
I’d fill muffin cups about 2/3 full and reduce baking time to 20-25 minutes. You’ll still layer the batter, herbs and cheese, but each muffin becomes an individual serving with crispy edges.