
I’ve got to tell you about these Beef Bacon Cheesy Breadsticks that have become my absolute go-to for game days and impromptu gatherings. There’s something magical about the combination of crispy beef bacon wrapped around soft breadsticks, all coated in a garlicky cheese mixture that melts in your mouth.
They’re surprisingly simple to make but look like you spent hours in the kitchen. Want to know the secret to getting that perfect cheese-to-bacon ratio and the little twist that makes these irresistible?
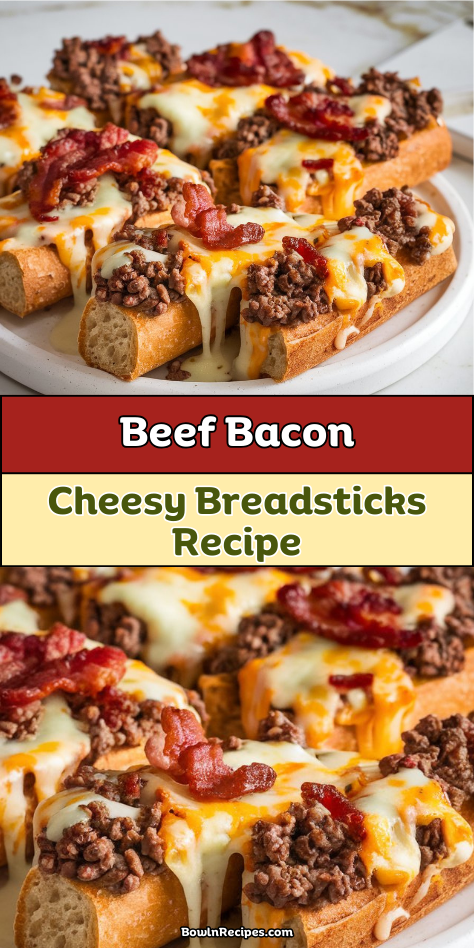
Why You’ll Love these Beef Bacon Cheesy Breadsticks
Cheese lovers, gather around! I’m about to share what might become your new favorite appetizer. These beef bacon wrapped breadsticks are seriously addictive, combining the savory goodness of beef bacon with two kinds of melty cheese. The crispy breadstick inside creates the perfect textural contrast, while that garlic butter coating takes everything to the next level.
They’re super versatile too – perfect for game day snacking, holiday parties, or just because it’s Tuesday and you deserve something delicious. And can we talk about that moment when you pull them apart and the cheese stretches dramatically? Pure food joy.
What Ingredients are in Beef Bacon Cheesy Breadsticks?
To make these irresistible beef bacon cheesy breadsticks, you’ll need a handful of simple ingredients that come together for maximum flavor.
- 24 hard breadsticks (the sturdy kind that can stand up to wrapping)
- 12 slices beef bacon (a delicious alternative to pork bacon)
- 1 cup shredded mozzarella cheese
- ½ cup grated Parmesan cheese
- 2 cloves garlic, minced
- 2 tablespoons melted butter
- ½ teaspoon garlic powder
- ¼ teaspoon black pepper
When shopping for these ingredients, quality matters—especially for the beef bacon and cheeses, as they’re really the stars of this appetizer and their flavors will shine through in every bite.
How to Make these Beef Bacon Cheesy Breadsticks
Step 1: Preheat Your Oven
Preheat your oven to 350°F so it’s nice and hot when you’re ready to bake these mouthwatering treats. Getting the temperature right guarantees your bacon will crisp up perfectly without burning. When preparing your recipe, consider using a premium slow cooker to enhance your cooking experience with precise temperature control and convenient cooking options.
Step 2: Wrap the Breadsticks with Bacon
Take each of your 24 hard breadsticks and carefully wrap them with half a slice of beef bacon, spiraling it around for even coverage. The beef bacon adds a smoky, savory element that’s absolutely divine with the crunchy breadsticks.
Step 3: Secure the Bacon (If Needed)
If your bacon seems a bit uncooperative (doesn’t it always have a mind of its own?), use toothpicks to secure it to the breadsticks. Just remember to remove them before serving—nobody wants a surprise toothpick appetizer!
Step 4: Bake Until Crispy
Place your wrapped breadsticks on a baking sheet and bake for 20-25 minutes, until the beef bacon is crispy and golden. Keep an eye on them toward the end—the line between perfectly crisp and sadly burnt can be thinner than my patience on a Monday morning.
Step 5: Prepare the Cheese Mixture
While the breadsticks are baking, mix 1 cup shredded mozzarella cheese, ½ cup grated Parmesan cheese, 2 minced garlic cloves, 2 tablespoons melted butter, ½ teaspoon garlic powder, and ¼ teaspoon black pepper in a shallow dish. This cheesy garlic coating is what takes these breadsticks from good to “where have you been all my life?”
Step 6: Roll in Cheese Mixture
As soon as those breadsticks come out of the oven, while they’re still hot and sizzling, roll them in the cheese mixture. The heat will help the cheese stick and slightly melt, creating the most gorgeous garlicky, cheesy coating you’ve ever seen.
Step 7: Serve Warm
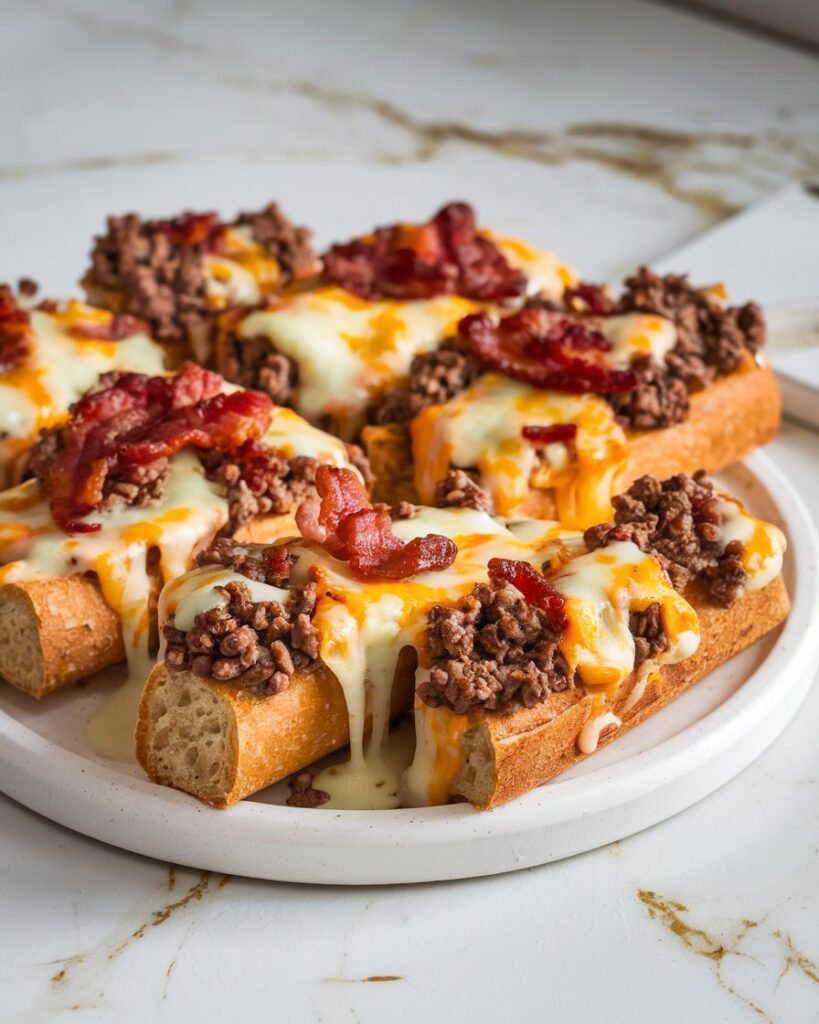
Transfer your cheesy, bacon-wrapped masterpieces to a serving platter and enjoy while they’re still warm. The contrast between the crunchy breadstick, crispy beef bacon, and gooey cheese is something that simply must be experienced fresh from the oven.
What to Serve with Beef Bacon Cheesy Breadsticks
These savory, cheesy breadsticks make the perfect appetizer for game day or a family dinner, but they also shine as part of a larger spread. Pair them with a simple marinara sauce for dipping—the tangy tomato perfectly balances the rich, salty bacon. For something more substantial, serve alongside a fresh Caesar salad where the crisp lettuce and bright dressing cut through the indulgent flavors.
Need a drink pairing? A cold craft beer or sparkling Italian soda complements these breadsticks beautifully. They also work wonderfully with creamy tomato soup for a satisfying lunch combo. For an elevated dinner appetizer, arrange them on a board with olives, pickled vegetables, and a small bowl of pesto dipping sauce.
Beef Bacon Cheesy Breadsticks Substitutions and Variations
- Finishing Touches: Sprinkle with fresh chopped parsley, chives, or a drizzle of hot honey before serving.
- Dipping Options: Set out ranch dressing, BBQ sauce, or buffalo sauce alongside the marinara for variety.
Who says you need to follow recipes exactly? The kitchen is your playground!
Leftovers and Storage for these Beef Bacon Cheesy Breadsticks
Let’s be real—these breadsticks are at their absolute prime when fresh out of the oven, with that perfect cheese pull and crispy bacon. But if you somehow have leftovers (how?), here’s what to do:
- Refrigeration: Store in an airtight container for up to 3 days. Pro tip: separate layers with parchment paper to prevent sticking.
- Freezing: These can be frozen for up to 1 month. Wrap individually in foil, then place in a freezer bag.
- Reheating: For that just-made texture, reheat in a 325°F oven for 5-7 minutes. Avoid microwaving unless you enjoy soggy breadsticks that have lost their soul.
- Refresh trick: Sprinkle with a tiny bit of fresh cheese before reheating to revive that gooey factor.
Final Thoughts
There’s something undeniably satisfying about the combination of crunchy breadsticks, savory beef bacon, and melty cheese that makes this recipe a standout addition to any table. The contrast between the crisp exterior and cheesy coating creates a flavor experience that’s both comforting and indulgent. These breadsticks shine as appetizers for game day gatherings, weekend brunches, or holiday celebrations when you want something a little special but not fussy. They’re substantial enough to keep hungry guests happy while dinner finishes cooking, yet addictive enough that you might need to make a double batch. In a world of complicated recipes, sometimes the simple combination of bread, meat and cheese remains undefeated.
Frequently Asked Questions
Can I Prepare These Breadsticks Ahead of Time?
Yes, I’d recommend assembling them with the bacon and storing in the refrigerator for up to 24 hours. Just bake them fresh when needed and add the cheese mixture right after baking for best results.
Are These Breadsticks Suitable for Freezing Before or After Cooking?
Yes, you can freeze these breadsticks! I’d recommend freezing them before baking—wrap bacon around breadsticks, freeze on a tray, then transfer to freezer bags. Add a few minutes to baking time when cooking from frozen.
What’s the Best Beef Bacon Brand to Use for This Recipe?
I don’t have a specific beef bacon brand recommendation in the recipe. Look for lean cuts with good marbling. Brands like Godfather’s, Schmacon, or local halal options work well for these breadsticks.
How Do I Prevent the Cheese Mixture From Clumping?
To prevent clumping, I’d make sure your cheese is finely shredded and at room temperature. I mix it thoroughly with melted (not hot) butter, and I add the mixture to the breadsticks while they’re still warm.
Can I Make These in an Air Fryer Instead of an Oven?
Yes, you can use an air fryer! I’d recommend 320°F for 10-12 minutes, turning halfway through. You might need to work in batches depending on your air fryer’s size for even cooking.